50s Makeup: Step-by-Step Tutorial for a Classic Vintage Look
Table of Contents
50s Makeup
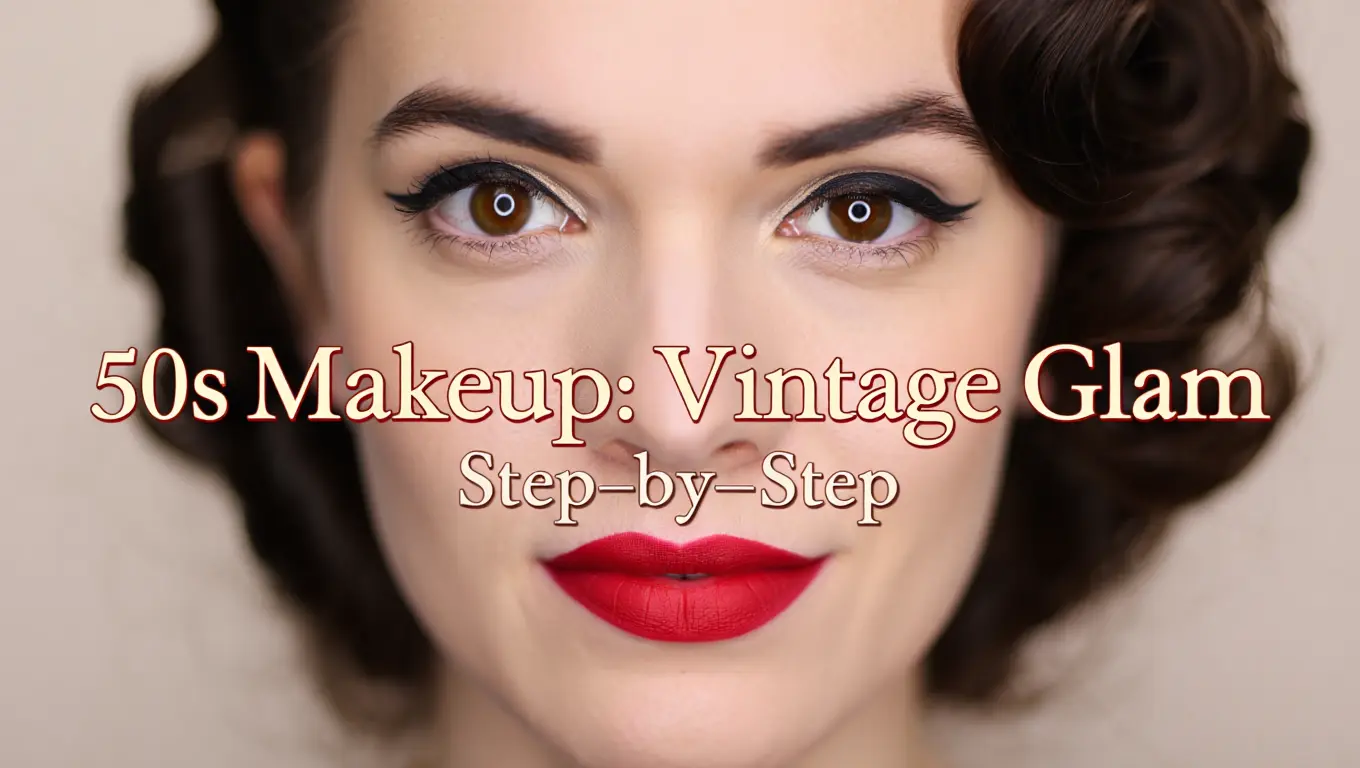
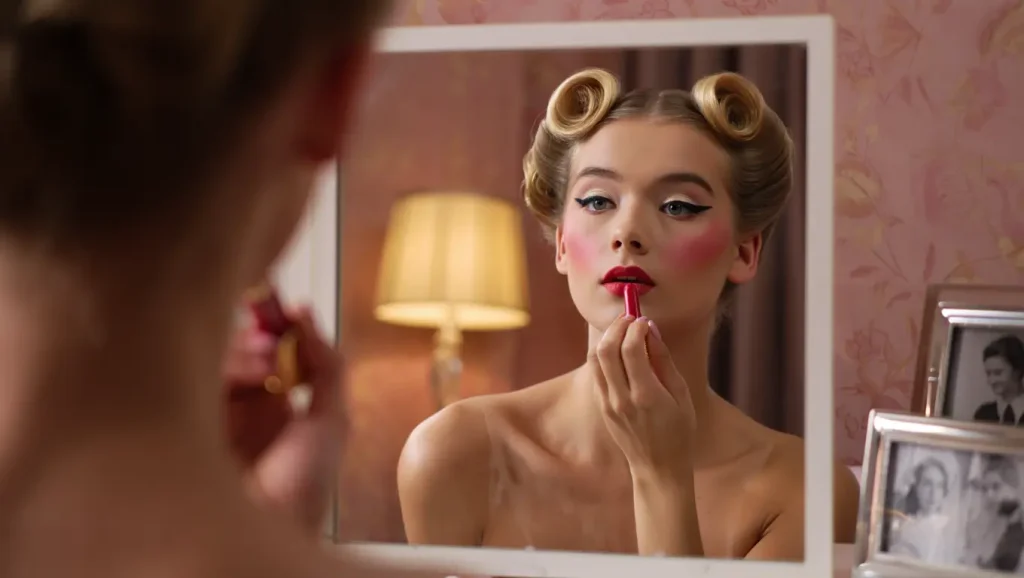
If you’re obsessed with retro glam, recreating a true 50s makeup look is one of the most timeless ways to channel old Hollywood beauty. From the flawless matte skin to that signature winged liner and bold red lips, this tutorial captures it all.
Using minimal but effective products, this guide walks you through each step of achieving a full 1950s-inspired face—from poreless skin to dramatic brows and that iconic red pout.
Step 1: Smooth Skin Starts with Primer
The base of any good 50s makeup look is smooth, perfected skin. This routine starts with Maybelline’s Baby Skin Primer, which helps minimize pores and create a silky base for foundation. A flat-top foundation brush is used to blend it all in.
The goal? A flawless canvas with zero texture showing through—essential for recreating that photo-ready 50s glam.
Step 2: Color Correct and Even Out the Skin
Although color correcting wasn’t part of 1950s makeup kits, it helps prep for the flawless skin that defined the era. A green shade from the Color Collection palette is used here to tone down redness, especially around breakouts.
This extra step helps ensure an even complexion once the foundation goes on.
Step 3: Flawless, Matte Foundation
The foundation used is Rimmel Match Perfection in Ivory, and it’s applied with a Beauty Blender to create a smooth, skin-like finish—no streaks, no patches. This part may take a moment, especially if you make the same mistake the tutorial did (accidentally spilling foundation onto your dress!).
A Beauty Blender ensures the foundation melts into the skin rather than sitting on top—just what’s needed for that polished 50s vibe.
Step 4: Brighten and Conceal
Next comes LA Girl Pro Conceal in Natural, applied under the eyes and over any blemishes. It’s blended in with a setting spray–dampened Beauty Blender for an even, seamless look.
To brighten the face and add dimension, a second concealer (in a lighter, pink-toned shade) is applied:
- Under the eyes
- Beneath the cheek contour area
- Down the center of the forehead
- On the bridge of the nose
- Cupid’s bow
- Chin
All of this is then blended with the same Beauty Blender to bring light to the high points of the face—without modern contouring techniques.
Step 5: Set It All In Place
To lock everything in and give that matte finish the 50s are known for, Rimmel Stay Matte Translucent Powder is used.
It’s pressed under the eyes with the back of the Beauty Blender and swept across the rest of the face using a fluffy powder brush. This step gives the entire base that shine-free, smooth appearance that defined makeup in the 1950s.
Step 6: Eyeshadow-Soft and Subtle
In 50s makeup, the eyes weren’t always colorful or dramatic. The attention was mostly on the eyeliner, so shadow stayed soft.
Using the Makeup Revolution Fortune Favors the Brave Palette, the look starts by:
- Setting the lids with the shade “Soft”
- Blending “Buffer” and “Latte” into the crease for a light, sculpted eye
These shades are neutral and give structure to the eyes without taking away from the winged liner. “Soft” is also applied to the brow bone and lid again to keep everything bright and clean.
Step 7: The Iconic 50s Winged Eyeliner
Now comes the star of the show: gel winged eyeliner.
Using Rimmel Scandaleyes Gel Liner, a classic cat-eye shape is drawn—extending slightly sideways rather than angled sharply upward. This shape elongates the eyes without lifting them too high, staying true to the more horizontal wings popular in the 1950s.
If you have semi-hooded lids, like in the tutorial, pulling gently on the lid helps get a cleaner line. Just take your time!
Step 8: Tightline and Define the Lash Line
To make lashes look thicker, the waterline is tightlined using a basic black pencil liner. This simple trick intensifies the lash line and makes the eyeliner look even more defined.
Then, the same crease shades used earlier (“Buffer” and “Latte”) are softly blended along the bottom lash line for balance.
For extra brightness, the shade “Crema” is applied to the inner corners and gently dragged outward to open up the eyes.
Step 9: Mascara-Top Lashes Only
In keeping with true 50s style, mascara is only applied to the top lashes using Rimmel Super Curling Mascara.
Leaving the lower lashes bare was common in the era, as it gave the illusion of more lifted, rounded eyes. Plus, it kept the look clean and doll-like.
Step 10: A Natural Flush with High Blush Placement
Using Natural Collection Blush in Sweet Cheeks, blush is applied higher than usual—toward the top of the cheekbones rather than the apples. It’s blended out well to give a soft, natural flush, without any harsh lines.
This higher blush placement adds a subtle lift and keeps everything looking youthful and fresh.
Step 11: Brows-Slim, High Arches
Brows were thinner and more defined in the 50s. Here, the Makeup Revolution Brow Expert Kit is used to shape a more classic, high-arched brow.
The lighter pomade fills in the base, while the darker shade sharpens the arch. Then powder is added on top to lock it in.
A spoolie brush is used to soften the brow for a more natural finish—no blocky lines or overly bold shapes here.
Step 12: Highlight-but Keep It Subtle
Highlighter wasn’t a thing in the 1950s, but this look adds a modern twist with a very natural, glowy highlight applied only to the high points of the face. It creates that healthy glow without looking sparkly or obvious.
Applied to:
- Tops of the cheekbones
- Nose
- Cupid’s bow
- Chin
It’s soft, subtle, and gives just enough glow to balance the matte base.
Step 13: Red Lips-The Final Touch
No 50s makeup look is complete without a bold red lip. The classic pin-up color used here is NYX Liquid Suede Lipstick in “Your Heels.”
It’s bright, matte, and the perfect vintage red. The shape follows the natural lip line without heavy overlining—keeping it classy and true to the period.
50s Makeup Bonus: Quick 50s-Inspired Hairstyle
To finish the vintage look, the tutorial adds a quick hairstyle:
- A pouf in the front for volume
- Hair pulled back into a bun
Simple, clean, and effortlessly 50s.
50s Makeup Final Thoughts
Recreating 50s makeup is about more than just red lipstick—it’s the skin, the liner, the brows, and that soft matte finish. This routine pulls it all together in a way that feels authentic but still wearable today.
Whether you’re headed to a vintage event, a pin-up photoshoot, or just love timeless beauty, this is a full breakdown of how to bring 1950s glam back to life—one wing at a time.