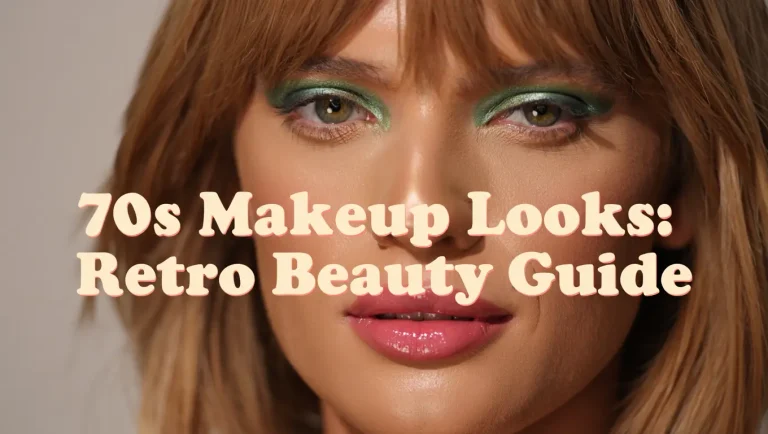
70s Makeup Looks: 5 Simple Steps for a Retro-Inspired Glow
Table of Contents
I’m so excited to share this—it’s a tried-and-true method to create amazing 70s makeup looks, perfectly based on the video’s step-by-step guide. No fluff, no extra products—just honest, real advice to help you achieve that vintage, radiant finish.
Step 1: Hydrating Primer—A Game Changer
The very first thing the video teaches is lighting up your base with hydration. The host grabs what looks like a moisturizer, but it doubles as a hydrating primer.
What to Do: Smooth it over your face—it feels like skin, not product.
Why It Works: Helps keep your makeup from sliding off throughout the day and keeps that fresh glow.
Real Talk: It proves that even for 70s makeup looks, priming doesn’t have to feel heavy or stiff.
Start here—your skin will thank you later.Step
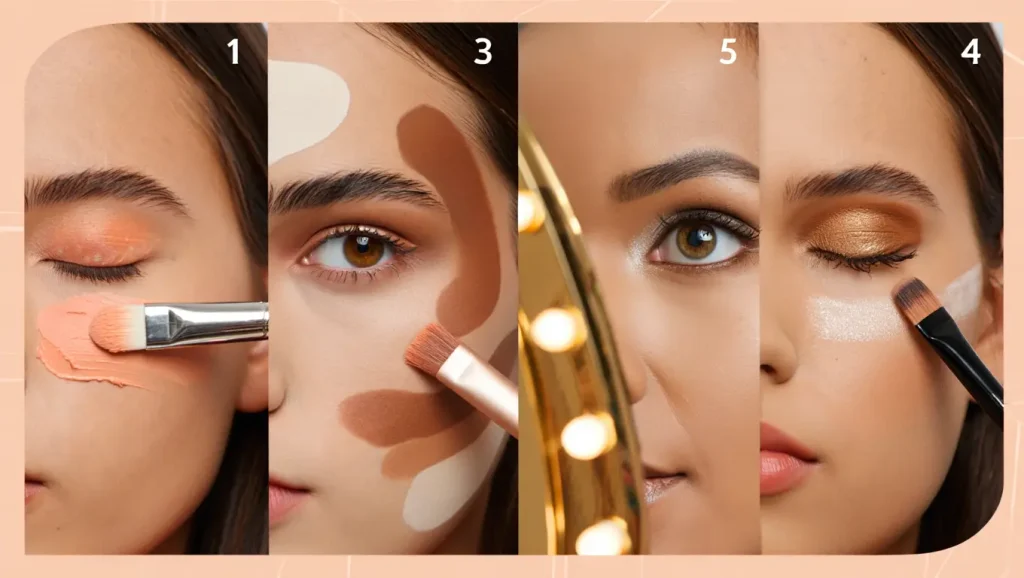
Step 2: Light & Shadow—Soft Sculpting
The video gives some really good advice on playing with light and shadow—it’s all about gentle definition, not harsh lines.
Conceal: Tap a shade near your skin tone on blemishes and under your eyes.
Highlight: Use something slightly lighter on your forehead center, nose, chin, and the inner corners of your eyes for that subtle lift.
Contour: With a cool-toned product and a small brush, define under your cheekbones, along your jawline, and the temples.
Blend: Use a sponge or brush to seat everything into your skin—no harsh edges.
And here’s the best part: there’s no rulebook here. Contour where you see fit—that’s true to 70s makeup looks.
Step 3: Set It, Then Glow
Now comes one of the most important steps: setting and highlighting.
Set the Concealer: Press loose powder over hidden areas to stop creasing and to lock everything in place.
Gentle Dusting: Use a fluffy brush to set areas around your face—under-eyes, cheeks, nose grooves.
Add Glow: Pop a shimmering highlight on the cheekbones, brow bone, nose bridge and tip, and inner eye corners. It’s that natural sheen that defines 70s makeup looks.
Little extras like this give your face a luminous, soft-focus finish—super timeless.
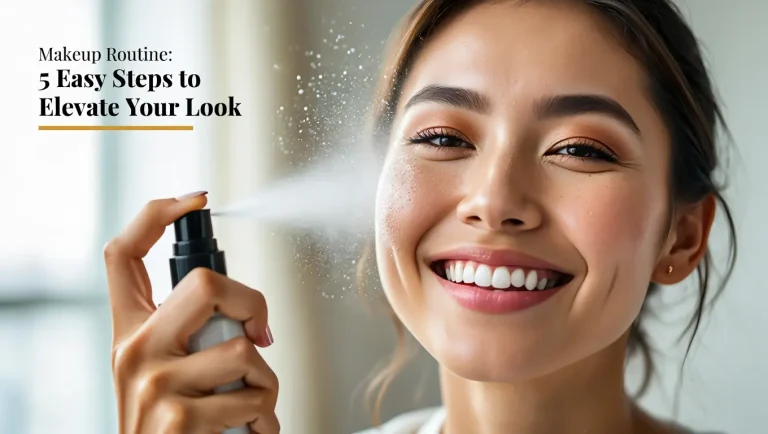
Step 4: Setting Spray—The Finishing Touch
Hydration. Softness. Longevity. The spray step just ties it all together.
Mist it on—shake well, spray in an “X” or “T” and let it sit.
Result: All the powders melt into the skin, reducing any chalky feel and giving you a skin-like glow.
Trust me, this step makes your look last and feel fresh—exactly what the retro vibe needs.
Step 5: Bring Back the Warmth with Color
One last step (and don’t skip it!): reapply bronzer and blush.
Why? Those powders fade fast, so this brings your color and warmth back.
How: Sweep bronzer under the cheekbones and around your forehead and jawline. Then add cream blush to the apple of the cheeks for a youthful pop.
Blend—is key: Gently diffuse everything for a natural sun-kissed finish.
This step seals the deal—beautiful and vital for all-day 70s makeup looks.
FAQs
Can this routine work for anyone?
Absolutely. The video emphasizes adapting highlight and contour to your features. It’s about personalization—classic, warm, elegant 70s makeup looks for everyone.
Is cream blush necessary?
Nope! It’s just what was shown. Pick cream or powder, whichever suits your preference.
How long will this take?
Once you’re familiar, about 10–15 minutes. Fast, fun, and it delivers real results.
Why This Works
Skin First: Hydration means your face looks healthy and stays fresh.
Subtle Sculpting: Light and shadow create shape without harshness.
Smart Setting: Powder + spray = a long-wearing, skin-like finish.
Final Color: Warmth stays with added bronzer and blush—no pale face here!
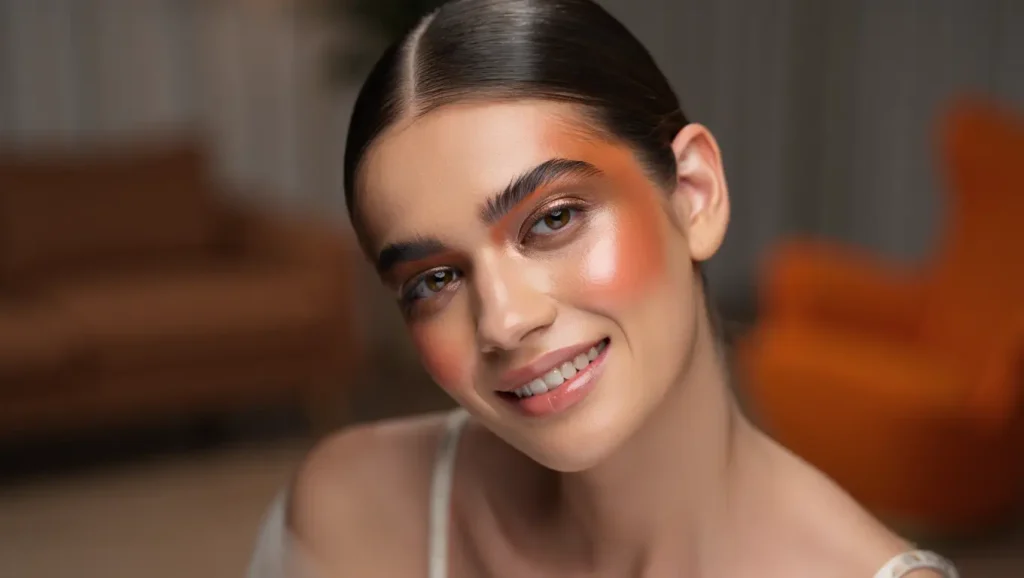
The Final Look, In Words
Imagine radiant skin with just enough sculpt to highlight, that slight glow from highlighter, and a sun-kissed warmth to your cheeks—it’s glowing, it’s polished, and absolutely wearable.